| Set the union on the pipe before
you start flaring. You cannot put the union fittings on the pipe
once the the pipe flare has been set. I learned this the hard
way.
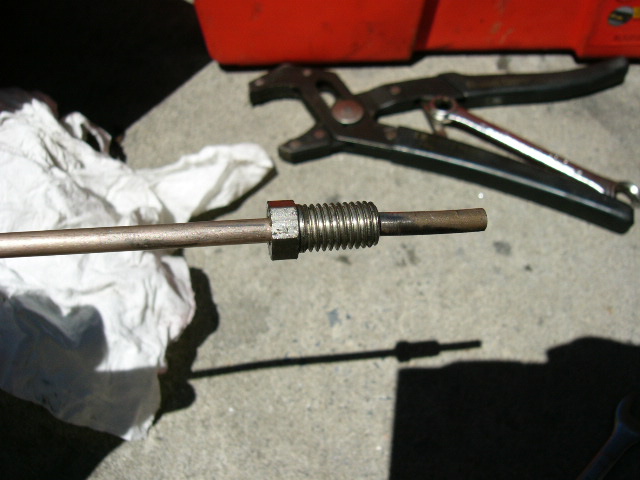
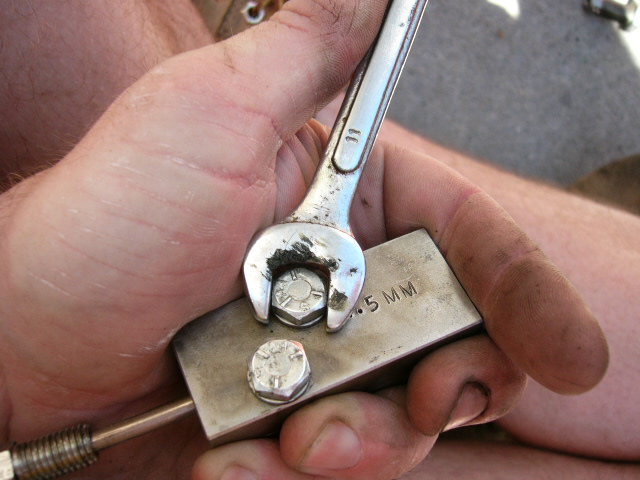
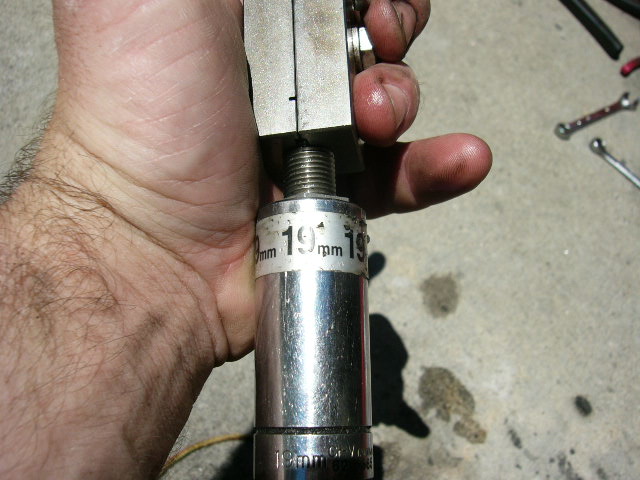
If the pipe has any
irregularities in its circumference because it may have been flexed, the
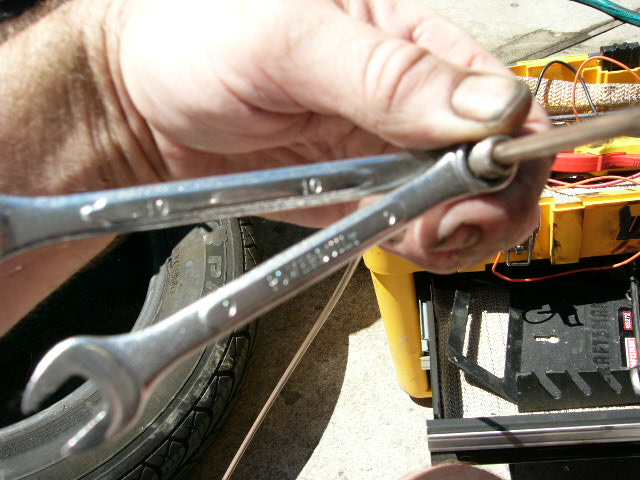
nuts may be difficult to move. It is possible to move them, but with
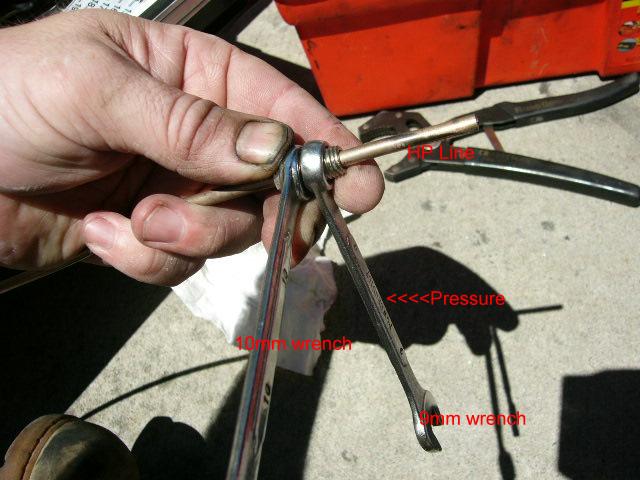
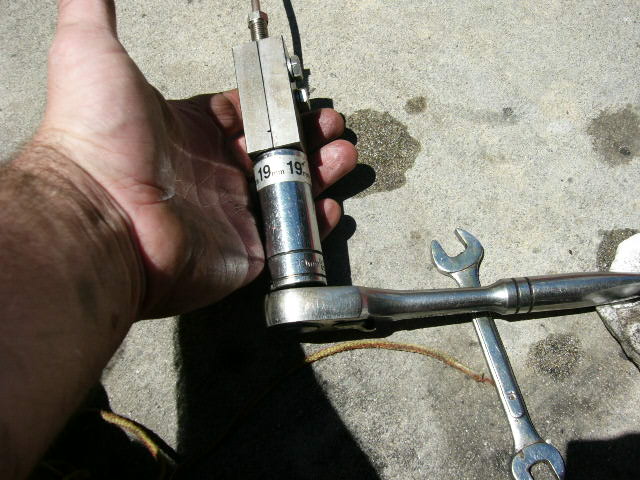
two wrenches, Take one 10mm wrench, and
one 9mm wrench. Use the 10mm to turn the union back and forth.
Use the 9mm wrench to apply pressure in the direction you want the
union to go. You rest the 9mm wrench on the 'shoulders' of the union
to apply pressure. Note that these are the union nuts from
Pleiades. They are steel, so the head won't get rounded, and ALL the
heads (for both 3,5 and 4,5mm pipe) are 10mm - no more poking about
for that odd 8 or 9 mm wrench!
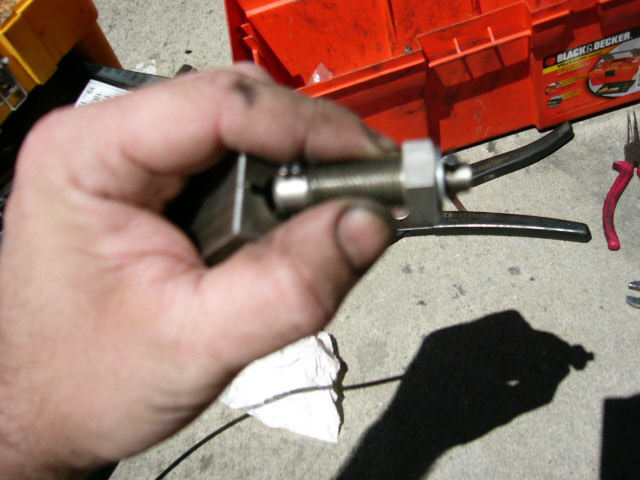
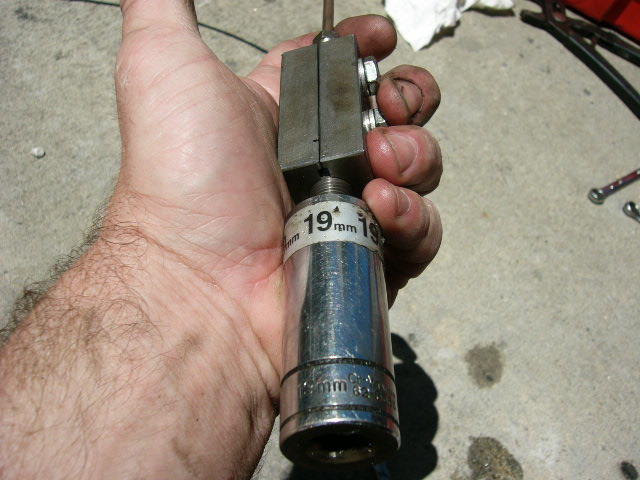
In this case, I am pressing
the union away from the end of the HP line. Or, I could be doing
shadow puppets of a drooling snake smoking a cigarette.
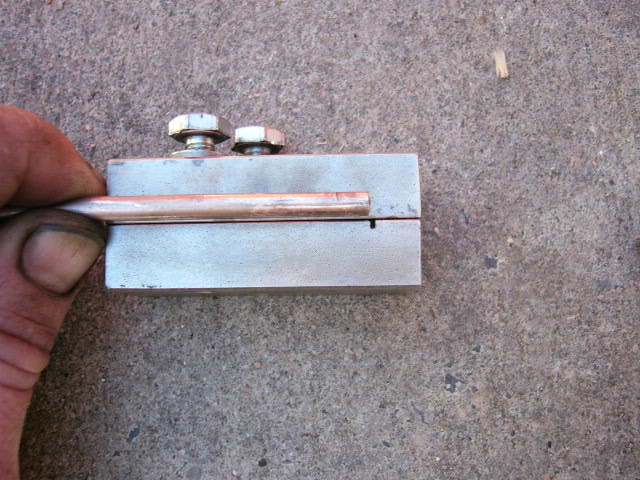
Here is the 4.5mm flaring tool.
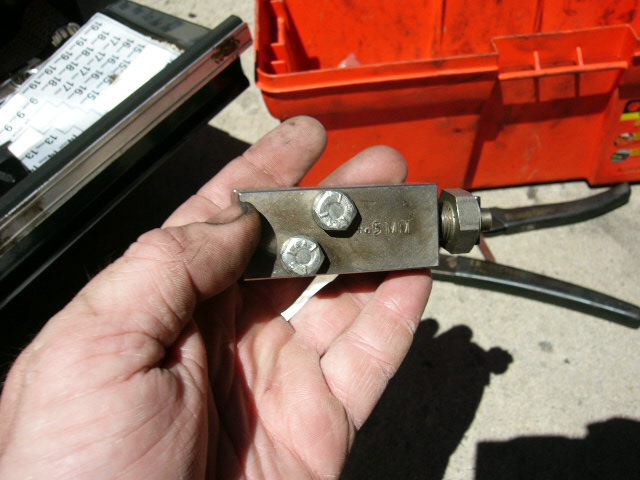
Set the HP line in the flaring
tool such that the end of the line is even with the groove cut into the
tool.
 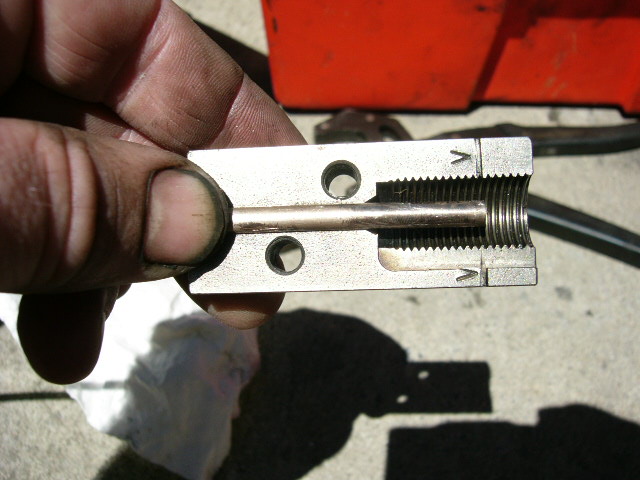
Tighten the two closure bolts on
the side of the tool. Make sure it is tight, because you do not want
the HP line to move inside the tool when you create the flare.
The end of the HP line visible
near the end of the tool.
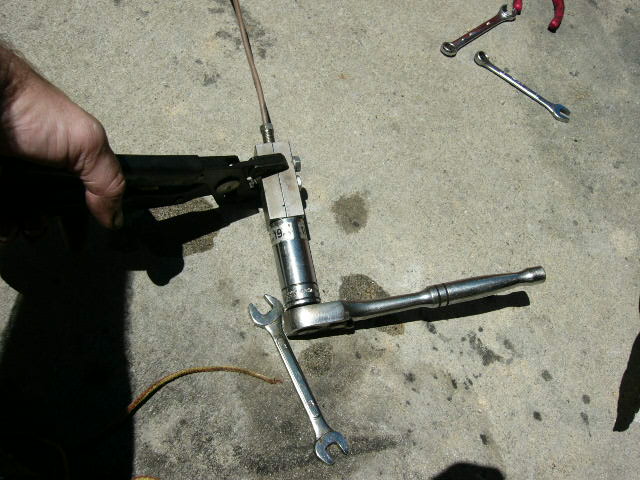
Inserting the threaded part of
the flaring tool. The camera focused on the wrench, not the tool,
but you can get the idea.
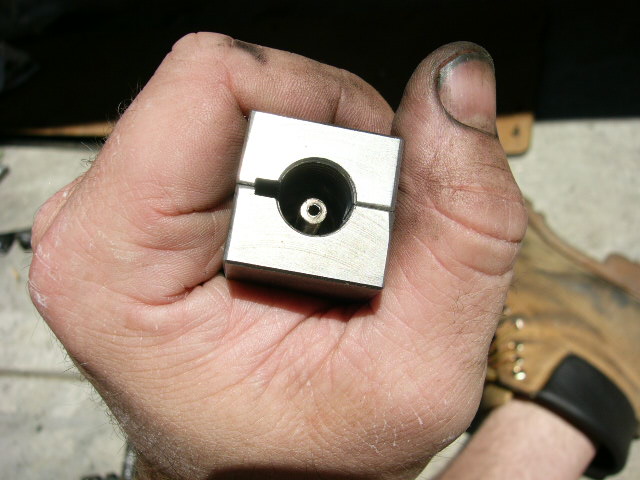
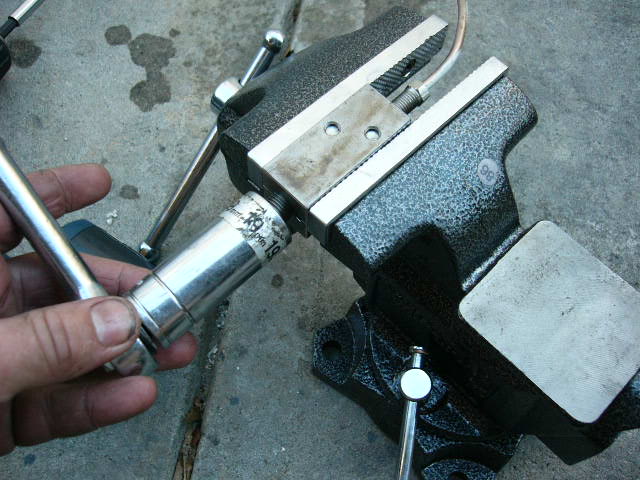
Tightening the flaring tool.
A deep socket ratchet is easiest. A vise is very helpful. The
nice thing about these small flaring tools is that they can be used on
pipes on the car. In the last photo I am holding the tool with some
pliers and the ratchet.
Making the flares takes some practice. You will have to develop a
sense of how much pressure is necessary to get the correct shape on the
line. The resistance is minimal at first, then gradually
increases and then steps up markedly. After the big step-up in
resistance, it still takes a few turns to create the flare. Plan to
do some practice flares. Also be prepared to have tightened the tool
too tight, which jams the HP line into the tool. Then you have to
pry the pipe out.The flared pipe. Again,
sorry for the bad focus.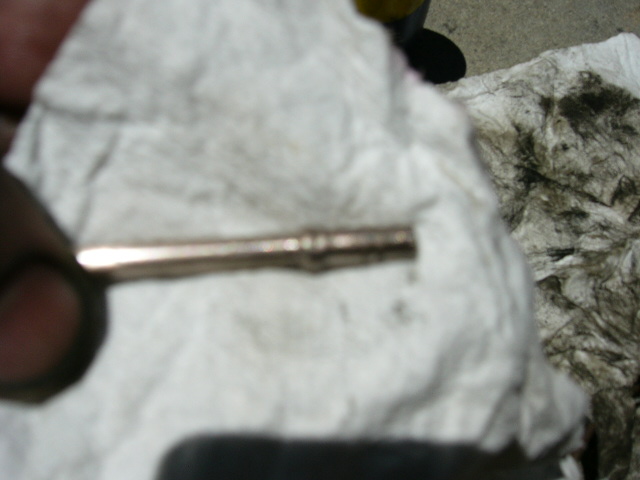 |